I guess we'll call this Christmas in July! I wish I could say I'd thought it out that much. Really though, I'm just using the things I've either documented well or need to write down before I forget how the hell I did them.
So incase you missed my previous post, we started a tradition after my son was born of doing a homemade ornament each year. The general idea is to also show the growth from year to year, so they'll involve either entire handprints, or at least thumb or finger prints.
The first year we did a bulb with a paint handprint and it barely fit. The second year I knew wanted to use a new dough recipe I'd recently found. The original source is now a private blog, so I can't link to it, but here's a secondary source. Obviously, everything on that website will be covered below and (bonus) will have pictures.
The original recipe can be halved, but it takes some careful measuring with the water. I'm fine with that, mostly because I don't generally need to make so many ornaments that an entire batch would make sense for me.
Recipe (original):
2 cups baking soda
1 cup cornstarch
1 1/4 cups water
Glitter (optional)
Food coloring (optional)
Now, I've also seen 1 1/2 cups water, which would make it easier to halve the recipe, but I haven't personally tried that ratio.
Mix dry ingredients, add water.
Heat over stove until mixture becomes a fluffy solid.
Remove from heat and cool to room temperature (or at least cool enough to not burn your hands)
Roll out using cornstarch as a non-stick powder (NOT flour)
Take impressions, cut out shapes
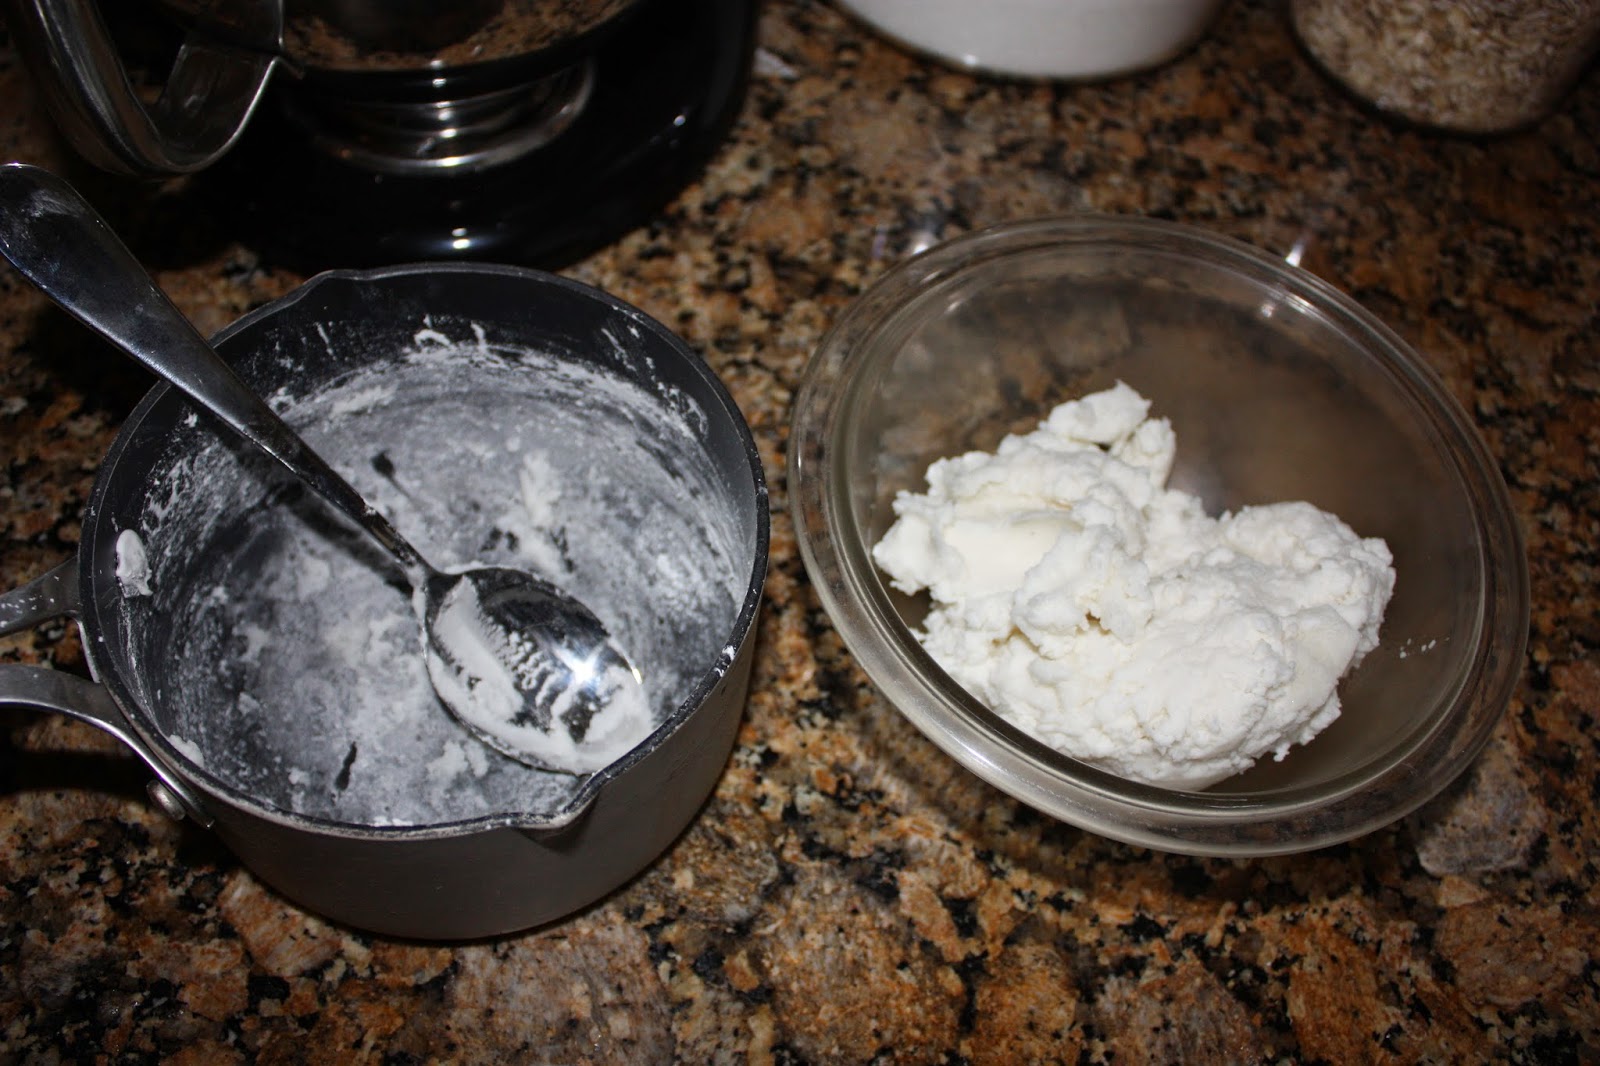
You'll want to mix the dry ingredients together first in a saucepan. That's important because the cornstarch and water form a non-Newtonian fluid. Yay science and crafts! If you want to add glitter, do so with the dry ingredients. Add the food coloring, if you'd like, after the water has been incorporated. I'll have photos below of finished projects that are plain, glitter only, and glitter with food coloring so you can see the differences.
Here's a look at the mixture before it's heated up:

While it heats up on high, you will want to stir it fairly consistently. It takes a while to heat up, but once it does the rest of the process happens fairly quickly.
It will start to bubble.

And then congeal.


It will finally come together as a fluffy looking glob. At this point you can remove it from the heat and put it in a bowl to cool off. I add a paper towel to keep the moisture in and the dog fur out.


Once it's cooled down enough to handle, spread some cornstarch on the counter, form the dough into a ball and press flat into a disk. Then you can start rolling it out like cut-out cookies.


Once the dough is rolled to the desired thickness, take an impression of the hand or paw so that you're able to cut around it. If you're just doing thumbprints or want to make the ornament have more depth with lines, etc, you can cut the shapes out first and then adorn them as you'd like.
I took a paw impression of one of our dogs, Sam, the night before we took him to the vet for what ended up being his last visit. It was a sad day, but I'm glad that I had the forethought to create a keepsake. I cut around the paw using a vase to ensure it was a proper circle.

It's hard to see in the photo above, but the cornstarch gives the dough a natural sparkle. This shows up more if you use food coloring.
I used plastic chop sticks to make the holes in the ornaments, and a silver wrapped elastic cording to put hooks on.
Finished Projects:
 |
| Jack's 2nd Christmas Ornament - white dough with silver glitter, and silver paint. Yes, that's a Millennium Falcon. |
 |
| Sam's Paw Print - plain white dough, no glitter. Probably cracked due to size and uneven thickness. |
 |
| Christmas Ornaments - each was done using a 1/2 batch and an entire bottle of food coloring. |


You can see in the closeups of the blue and red ornaments that there is a marbling effect from the food coloring. At first I was disappointed, but it later grew on me. The bottoms were painted by hand with silver paint and took about 3-4 coats on each side. These were fairly time consuming, and I would not recommend doing them for a large group of people at the last minute. Start these in November if you have a lot to do.
If you're going to do these, just remember that depending on the thickness and the size of the cookie cutter you're using, you can get a good amount out of each 1/2 batch. If I recall correctly, I think I got between 25-30 of these ornaments (Wilton mini cookie cutter) and with the four colors, that turned into a long process to get them all painted.
Order of Operation for an Assembly Line:
1 - cut out all the ornaments and poke a hole while still wet
2 - dry overnight, flip in the morning so they'll be ready to paint that night
3 - find a large table, spread them out in rows, and start painting
4 - wait till dry, flip, paint other side
5 - repeat ad nauseam, I mean, as needed
These do make great office gifts, and while they take some time, are extremely cheap. I only used 1/2 a bottle of silver craft paint for over 100 of these bulb ornaments and 4 of the Millennium Falcons. All materials probably cost me about $25 total with the food coloring, glitter (cheap combo package), cornstarch, and baking soda. That's $0.25 an ornament! But remember, they take some time, and love. And that's the real gift ;-)
Thanks for reading!
~Beth
No comments:
Post a Comment