Showing posts with label Pinterest. Show all posts

Friday, August 1, 2014

Perspective: Pinterestful, not Perfect

Dear Reader(s),

You're still with me!  I got to thinking last night about how so many pins link to pages and blogs where the women (mostly) seem to have everything together.  They are financial wizards who stay at home and take loving care of their 5 kids while making cupcakes every other week for the neighborhood school.

I am not that woman.  I work full time, my husband works full time, and we are working our way out of debt from our not-so-financially-savvy 20s.  We have one child, and at one time had 4 dogs.  This year we lost two, so we now have a "normal" sized pack of animals.  Or at least one that's acceptable to my in-laws :)

Some days, I feel like I've got it all together.  I'll make 3 square meals at home without having to go to the grocery store or make a last minute substitution; I'll mow the backyard with my handpush mower; I'll get all the laundry washed, dried, folded, AND put away; I'll even do something artsy with my son, Jack; I might even go for a walk to get some exercise.  But let's be clear - these are RARE days.  Treasured, rare, exceptional days.  They usually take place on Saturdays, and then I'll end up spending all of Sunday in a comatose state to recover.

But I do love those days, and one of the goals of this blog to get me motivated to have more of them.  "More doing," as Home Depot might say.  I have far from a magazine spread, picture perfect home - as you will see shortly.

Let me back up a bit though.  Just so there's some perspective to these revealing photos.  When my husband and I married, almost 3 years ago, we were living in a suburb that required me to make an hour long commute to anywhere that offered a reasonable salary, and to see my family.  A little over a year into our marriage, and shortly after Jack was born, my husband got a new job that was also nearly an hour away for him.  It just wasn't making sense to stay in the house we were in.  So we moved.

We moved from a nearly 3000 square foot, 4 bedroom, 3 bath, 3 living area, 2 car garage house with a huge backyard to a 1500 square foot, 3 bedroom, 2 (shoebox) bath, 1 living area, 1 car garage house with a modest backyard.

We cut our living space in half, after growing our family.  Let that sink in for a minute.  Donations were made, garage sales were had, and the Great Purge is still our on-going project.  So, as proof that I'm not perfect, and neither is my house, behold:


The "Office" - aka the "put it in there" room

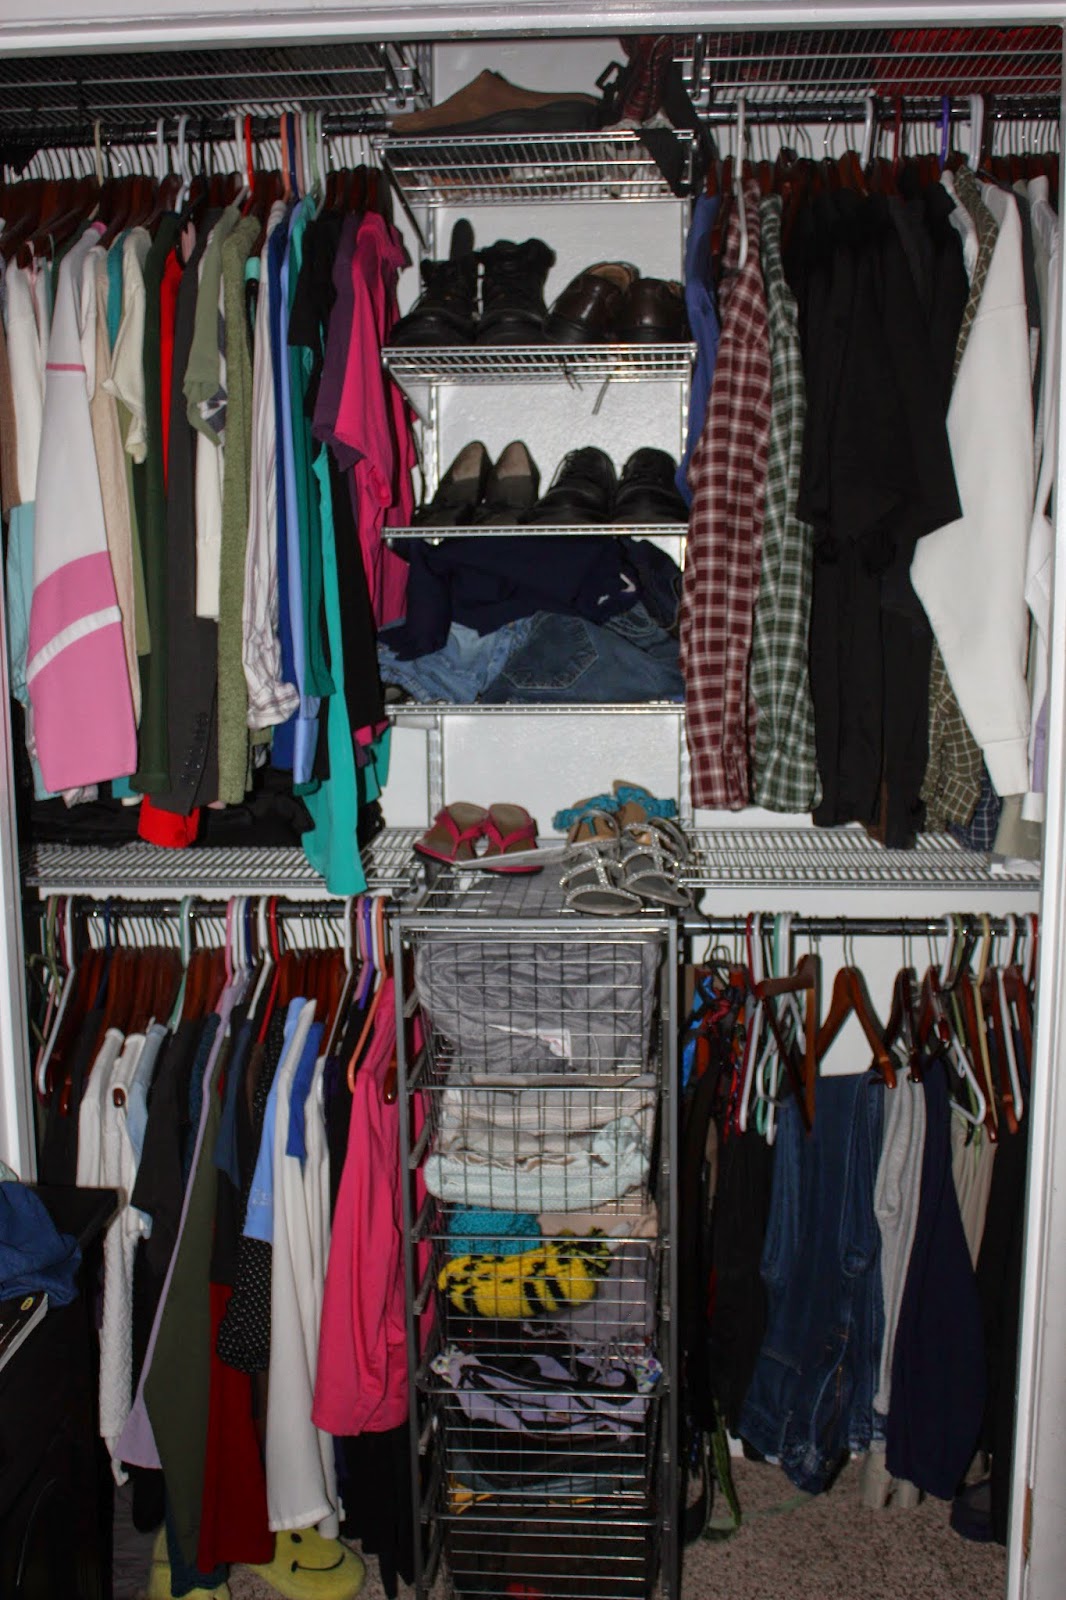
Master Closet - notice the complete lack organization, other than pants on bottom, shirts on top

Jack's Closet - another "put it there for now" space

Storage Shelf - just so you don't think everything is behind a potentially closed door, this is in our living room
And for those who look closely, you will find that my household is a nerdy one.  You may have noticed the Star Wars lunchbox or Master Chief's helmut in the "office," a Hufflepuff scarf tucked away in my closet, or perhaps the Portal companion cube and TARDIS cookie jars in our living room.  We are equal opportunity geeks/nerds.

So that's it for today.  No storage solution attempts, no glamorous before and after, just an honest down-to-earth look at a real-life working mom's house.

Thanks for reading!
~Beth

Thursday, July 31, 2014

Baby's Second Christmas Ornament

Dear Reader(s),

I guess we'll call this Christmas in July!  I wish I could say I'd thought it out that much.  Really though, I'm just using the things I've either documented well or need to write down before I forget how the hell I did them.

So incase you missed my previous post, we started a tradition after my son was born of doing a homemade ornament each year.  The general idea is to also show the growth from year to year, so they'll involve either entire handprints, or at least thumb or finger prints.

The first year we did a bulb with a paint handprint and it barely fit.  The second year I knew wanted to use a new dough recipe I'd recently found.  The original source is now a private blog, so I can't link to it, but here's a secondary source.  Obviously, everything on that website will be covered below and (bonus) will have pictures.

The original recipe can be halved, but it takes some careful measuring with the water.  I'm fine with that, mostly because I don't generally need to make so many ornaments that an entire batch would make sense for me.

Recipe (original):
2 cups baking soda
1 cup cornstarch
1 1/4 cups water
Glitter (optional)
Food coloring (optional)

Now, I've also seen 1 1/2 cups water, which would make it easier to halve the recipe, but I haven't personally tried that ratio.

Basic Directions:
Mix dry ingredients, add water.
Heat over stove until mixture becomes a fluffy solid.
Remove from heat and cool to room temperature (or at least cool enough to not burn your hands)
Roll out using cornstarch as a non-stick powder (NOT flour)
Take impressions, cut out shapes

You'll want to mix the dry ingredients together first in a saucepan.  That's important because the cornstarch and water form a non-Newtonian fluid.  Yay science and crafts! If you want to add glitter, do so with the dry ingredients.  Add the food coloring, if you'd like, after the water has been incorporated.  I'll have photos below of finished projects that are plain, glitter only, and glitter with food coloring so you can see the differences.

Here's a look at the mixture before it's heated up:


While it heats up on high, you will want to stir it fairly consistently.  It takes a while to heat up, but once it does the rest of the process happens fairly quickly.

It will start to bubble.

And then congeal.


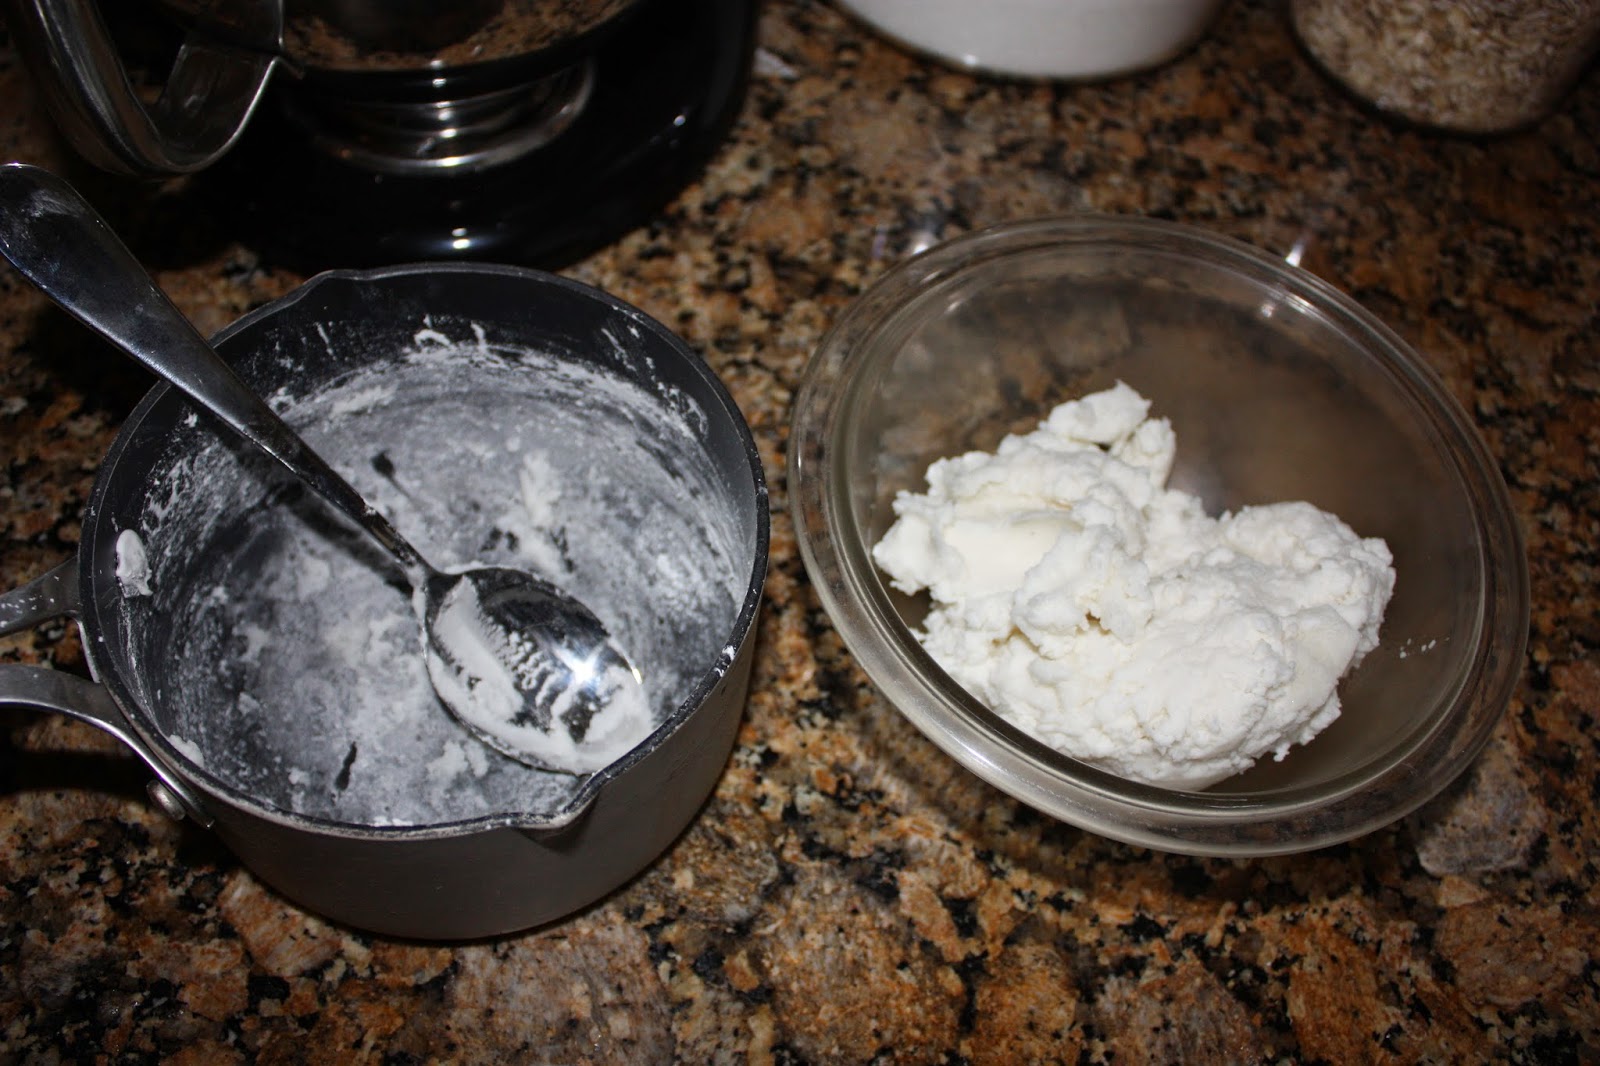
It will finally come together as a fluffy looking glob.  At this point you can remove it from the heat and put it in a bowl to cool off.  I add a paper towel to keep the moisture in and the dog fur out.


Once it's cooled down enough to handle, spread some cornstarch on the counter, form the dough into a ball and press flat into a disk.  Then you can start rolling it out like cut-out cookies.


Once the dough is rolled to the desired thickness, take an impression of the hand or paw so that you're able to cut around it.  If you're just doing thumbprints or want to make the ornament have more depth with lines, etc, you can cut the shapes out first and then adorn them as you'd like.

I took a paw impression of one of our dogs, Sam, the night before we took him to the vet for what ended up being his last visit.  It was a sad day, but I'm glad that I had the forethought to create a keepsake.  I cut around the paw using a vase to ensure it was a proper circle.


I put the rolled out dough onto the cookie sheet in order to take the impression, and to allow it to dry.  It took about two days because of the thickness, and I flipped it over each morning and again after work to ensure even drying on the front and back.

It's hard to see in the photo above, but the cornstarch gives the dough a natural sparkle.  This shows up more if you use food coloring.

I used plastic chop sticks to make the holes in the ornaments, and a silver wrapped elastic cording to put hooks on.


Finished Projects:
Jack's 2nd Christmas Ornament - white dough with silver glitter, and silver paint.  Yes, that's a Millennium Falcon.
Sam's Paw Print - plain white dough, no glitter.  Probably cracked due to size and uneven thickness.


Christmas Ornaments - each was done using a 1/2 batch and an entire bottle of food coloring.  


You can see in the closeups of the blue and red ornaments that there is a marbling effect from the food coloring.  At first I was disappointed, but it later grew on me.  The bottoms were painted by hand with silver paint and took about 3-4 coats on each side.  These were fairly time consuming, and I would not recommend doing them for a large group of people at the last minute.  Start these in November if you have a lot to do.

If you're going to do these, just remember that depending on the thickness and the size of the cookie cutter you're using, you can get a good amount out of each 1/2 batch.  If I recall correctly, I think I got between 25-30 of these ornaments (Wilton mini cookie cutter) and with the four colors, that turned into a long process to get them all painted.

Order of Operation for an Assembly Line:
1 - cut out all the ornaments and poke a hole while still wet
2 - dry overnight, flip in the morning so they'll be ready to paint that night
3 - find a large table, spread them out in rows, and start painting
4 - wait till dry, flip, paint other side
5 - repeat ad nauseam, I mean, as needed

These do make great office gifts, and while they take some time, are extremely cheap.  I only used 1/2 a bottle of silver craft paint for over 100 of these bulb ornaments and 4 of the Millennium Falcons.  All materials probably cost me about $25 total with the food coloring, glitter (cheap combo package), cornstarch, and baking soda.  That's $0.25 an ornament!  But remember, they take some time, and love.  And that's the real gift ;-)

Thanks for reading!
~Beth

Wednesday, July 30, 2014

Baby's First Christmas Ornament

Dear Reader(s),

Hello again!  Here's one of the first crafty things I did off Pinterest that has now started a tradition.  I think everyone's seen the Christmas ornament with a baby's handprint on it.  If not - you're about to.

The original one that I pinned was a photo of a clear bulb with the hand print in colored glitter.  I knew that wasn't happening.  Way too much of a mess for me.  I'm not totally opposed to messy crafts, most good ones are messy, but at the time I had a 2.5-month-old and four dogs.  Glitter was not my idea of a good time.

As you'll see, I opted for a solid colored bulb and white paint.  We also did a hockey puck as my husband plays recreationally and watches as much as he can (Go Stars!)  I wrote on the back of both with a white paint pen, but neglected to take photos and they are packed away right now.  Perhaps I'll update this after Thanksgiving with photos of the reverse *spoiler alert* they both say "JACK 2012"

So, the ins and outs of this brilliant idea.  First of all, please do yourself, and skip the glitter.  Seriously, I think that saved my sanity.  Second, keep a box of wipes nearby - you're going to need it.  Now that we have the housekeeping out of the way, on to the "how" portion.

You don't need a lot of paint.  Seriously, less is more.  More is just asking for smears.  That includes time that you press the little one's hand on the object in question.  The longer the hand is on the bulb (puck, ball, whatever) the more likely you'll get a messy hand print.

Ideal order of operation:
1 - put paint on a plastic plate (paper gets too soggy)
2 - dip baby's hand into paint
3 - press baby's hand on a throwaway item (paper plate, paper towel, something semi-absorbent)
4 - press baby's hand on what will (hopefully) become a treasured heirloom
5 - wipe hand
6 - repeat as needed

We bought an entire box of fairly large (but not the ridiculously huge) bulbs and about half of them turned out well enough.  Jack wasn't even 3-months at the time, and even though he's small for his age we had trouble getting his hand to fit.  That would be my biggest warning - if you want to do this, do it early.  If your baby's born in January, come December you'll have to get a bigger bulb.

So with all of that said, here's the one glorious picture I took.

Thanks for reading!
~Beth